
Import and organize projects
This page shows how to bring a KiCad project from a Git repository into Prism, keep it up to date with the remote, arrange projects in folders, and adjust what Prism detected about each one.
Importing, syncing, moving and deleting projects, and editing project settings, need the designer or admin role. Viewers can open and browse every project they have access to.
Import a project
Section titled “Import a project”Prism reads projects from Git. You cannot upload files or edit a board in Prism: engineers keep working in their own clones and push to the remote as usual, and Prism follows the remote.
- In the workspace, select Import Project.
- In Repository, enter the clone URL, either HTTPS
(
https://github.com/org/repo.git) or SSH (git@host:org/repo.git). - Select Analyze. Prism queues a job that reads the repository and looks for KiCad projects. The dialog shows each step while it runs.
- Pick the branch to import in Branch. Changing it analyzes that branch again, since another branch can hold different boards.
- If the repository holds several KiCad projects, tick the ones you want, or use Select All. Projects already in the workspace are marked Imported.
- Select Import. When the import finishes, the dialog shows Import Complete and the projects appear in the workspace.
A repository can hold any number of KiCad projects; each one you select becomes its own Prism project. Importing a repository that is already in the workspace lets you add the projects you skipped the first time.
Prism refuses local file paths, URLs with a username or password written into them, and unusual Git transport protocols.
Import a private repository
Section titled “Import a private repository”If the analysis cannot reach the repository, the dialog shows Grant Prism access with the steps for that host:
- SSH. Copy Prism’s public key and add it to the repository as a read-only deploy key. For GitHub and GitLab the dialog links straight to the deploy key settings. Then select Try again.
- No key yet. If the dialog says the workspace has no SSH key, or that the host is not trusted yet, an administrator has to create the key or add the host key under Settings → Git & SSH first.
- HTTPS. Private HTTPS remotes use the token the administrator configured for that host.
Administrators set up host access as described in GitHub and GitLab.
Lay out the repository for detection
Section titled “Lay out the repository for detection”Prism finds the schematic, board, jobset, README and thumbnail on its own in most repositories. A predictable layout keeps detection reliable:
project/├── board.kicad_pro├── board.kicad_sch├── board.kicad_pcb├── Outputs.kicad_jobset├── README.md└── docs/Keep generated manufacturing files out of the design folder where you can. If your layout differs, set the paths in Project Settings instead of restructuring the repository.
Keep a project in sync
Section titled “Keep a project in sync”Prism fetches every imported repository in the background, every five minutes by default (your administrator can change or turn off the interval, see Configuration). An open project page notices a newer commit on the branch you are viewing and offers New revision available · View.
To fetch immediately:
- Open the project.
- Select Sync in the project header.
A notification tracks the sync and reports when it completes or why it failed. Sync fetches the remote and moves Prism’s checkout forward when that can be done safely.
View another branch or commit
Section titled “View another branch or commit”- Branch. The branch menu in the project header lists each branch of the remote once. Pick one to view its latest fetched commit.
- Commit. In History, select the eye icon (Open this commit in the visualizer) on any commit, or select a release.
While you view anything other than the current checkout, a banner names the branch or commit (for a commit, also how many commits it is behind) and offers Return to Branch Head or Return to Current Checkout.
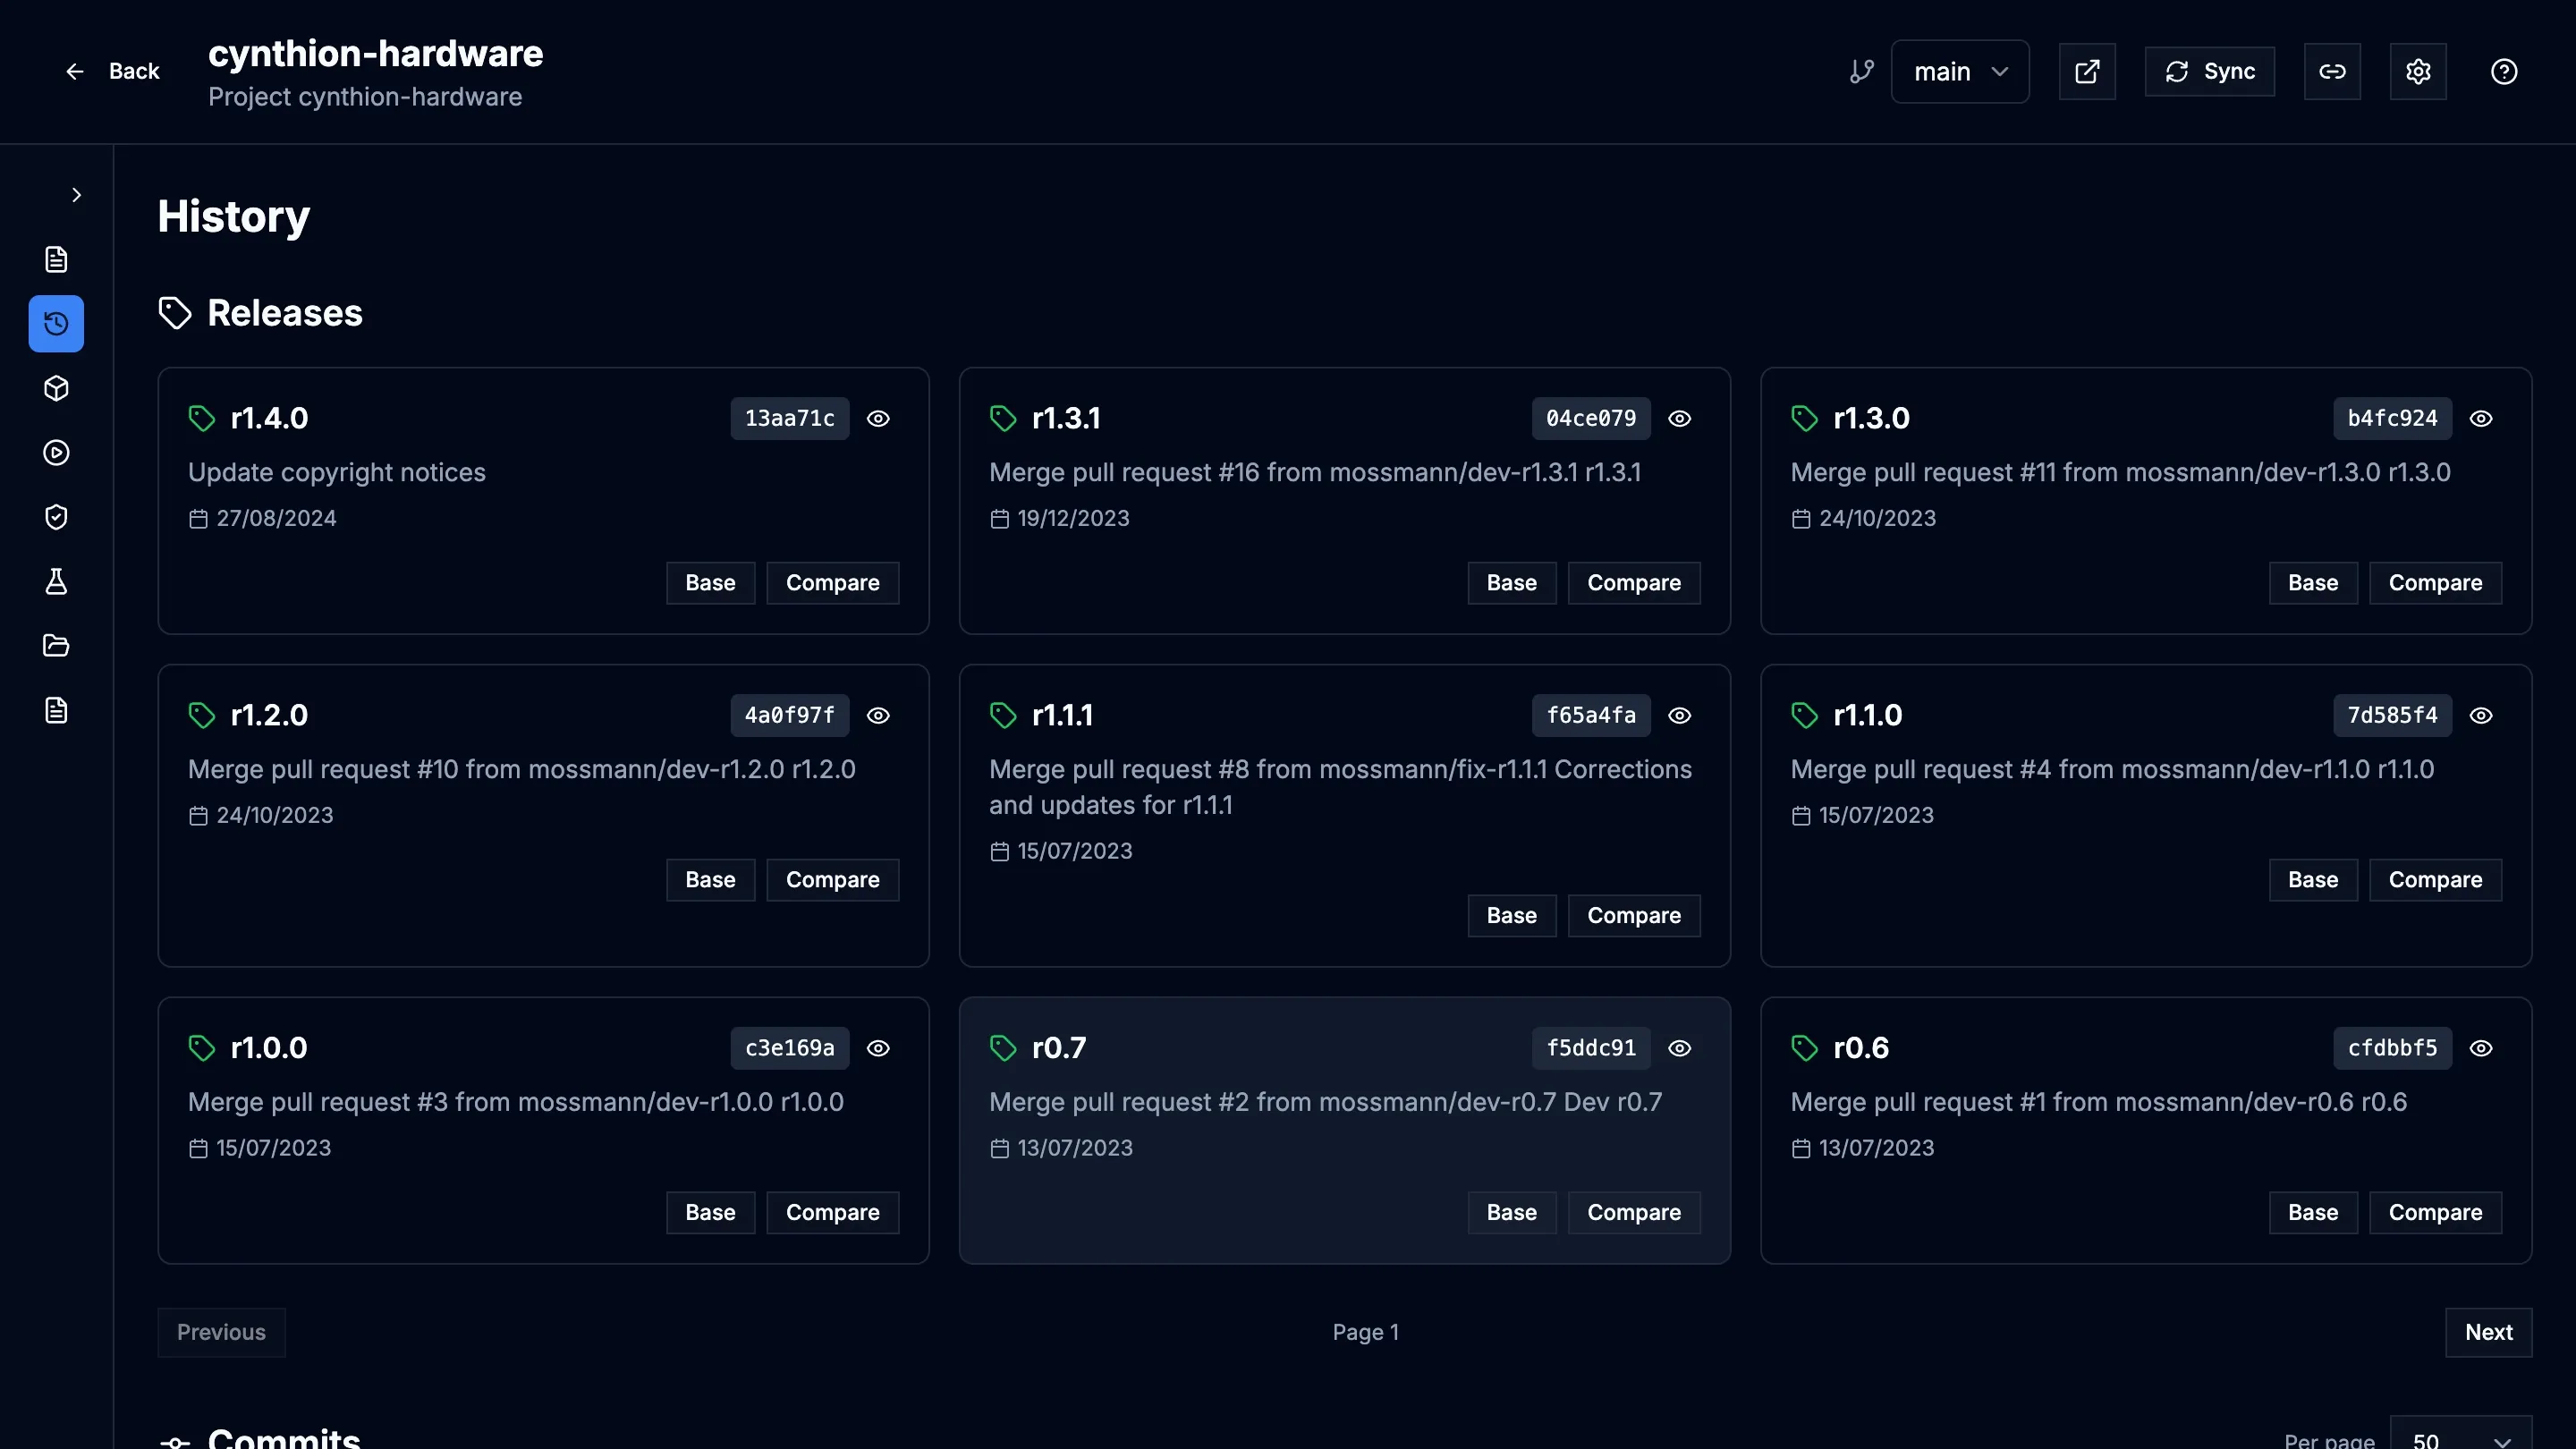
To share a view of one exact revision, copy the link while a commit is open: the URL carries the commit, so it keeps pointing at the same design after new pushes. See Links to a view for what a link can hold.
Find your way around a project
Section titled “Find your way around a project”The project sidebar has these sections:
| Section | What it holds |
|---|---|
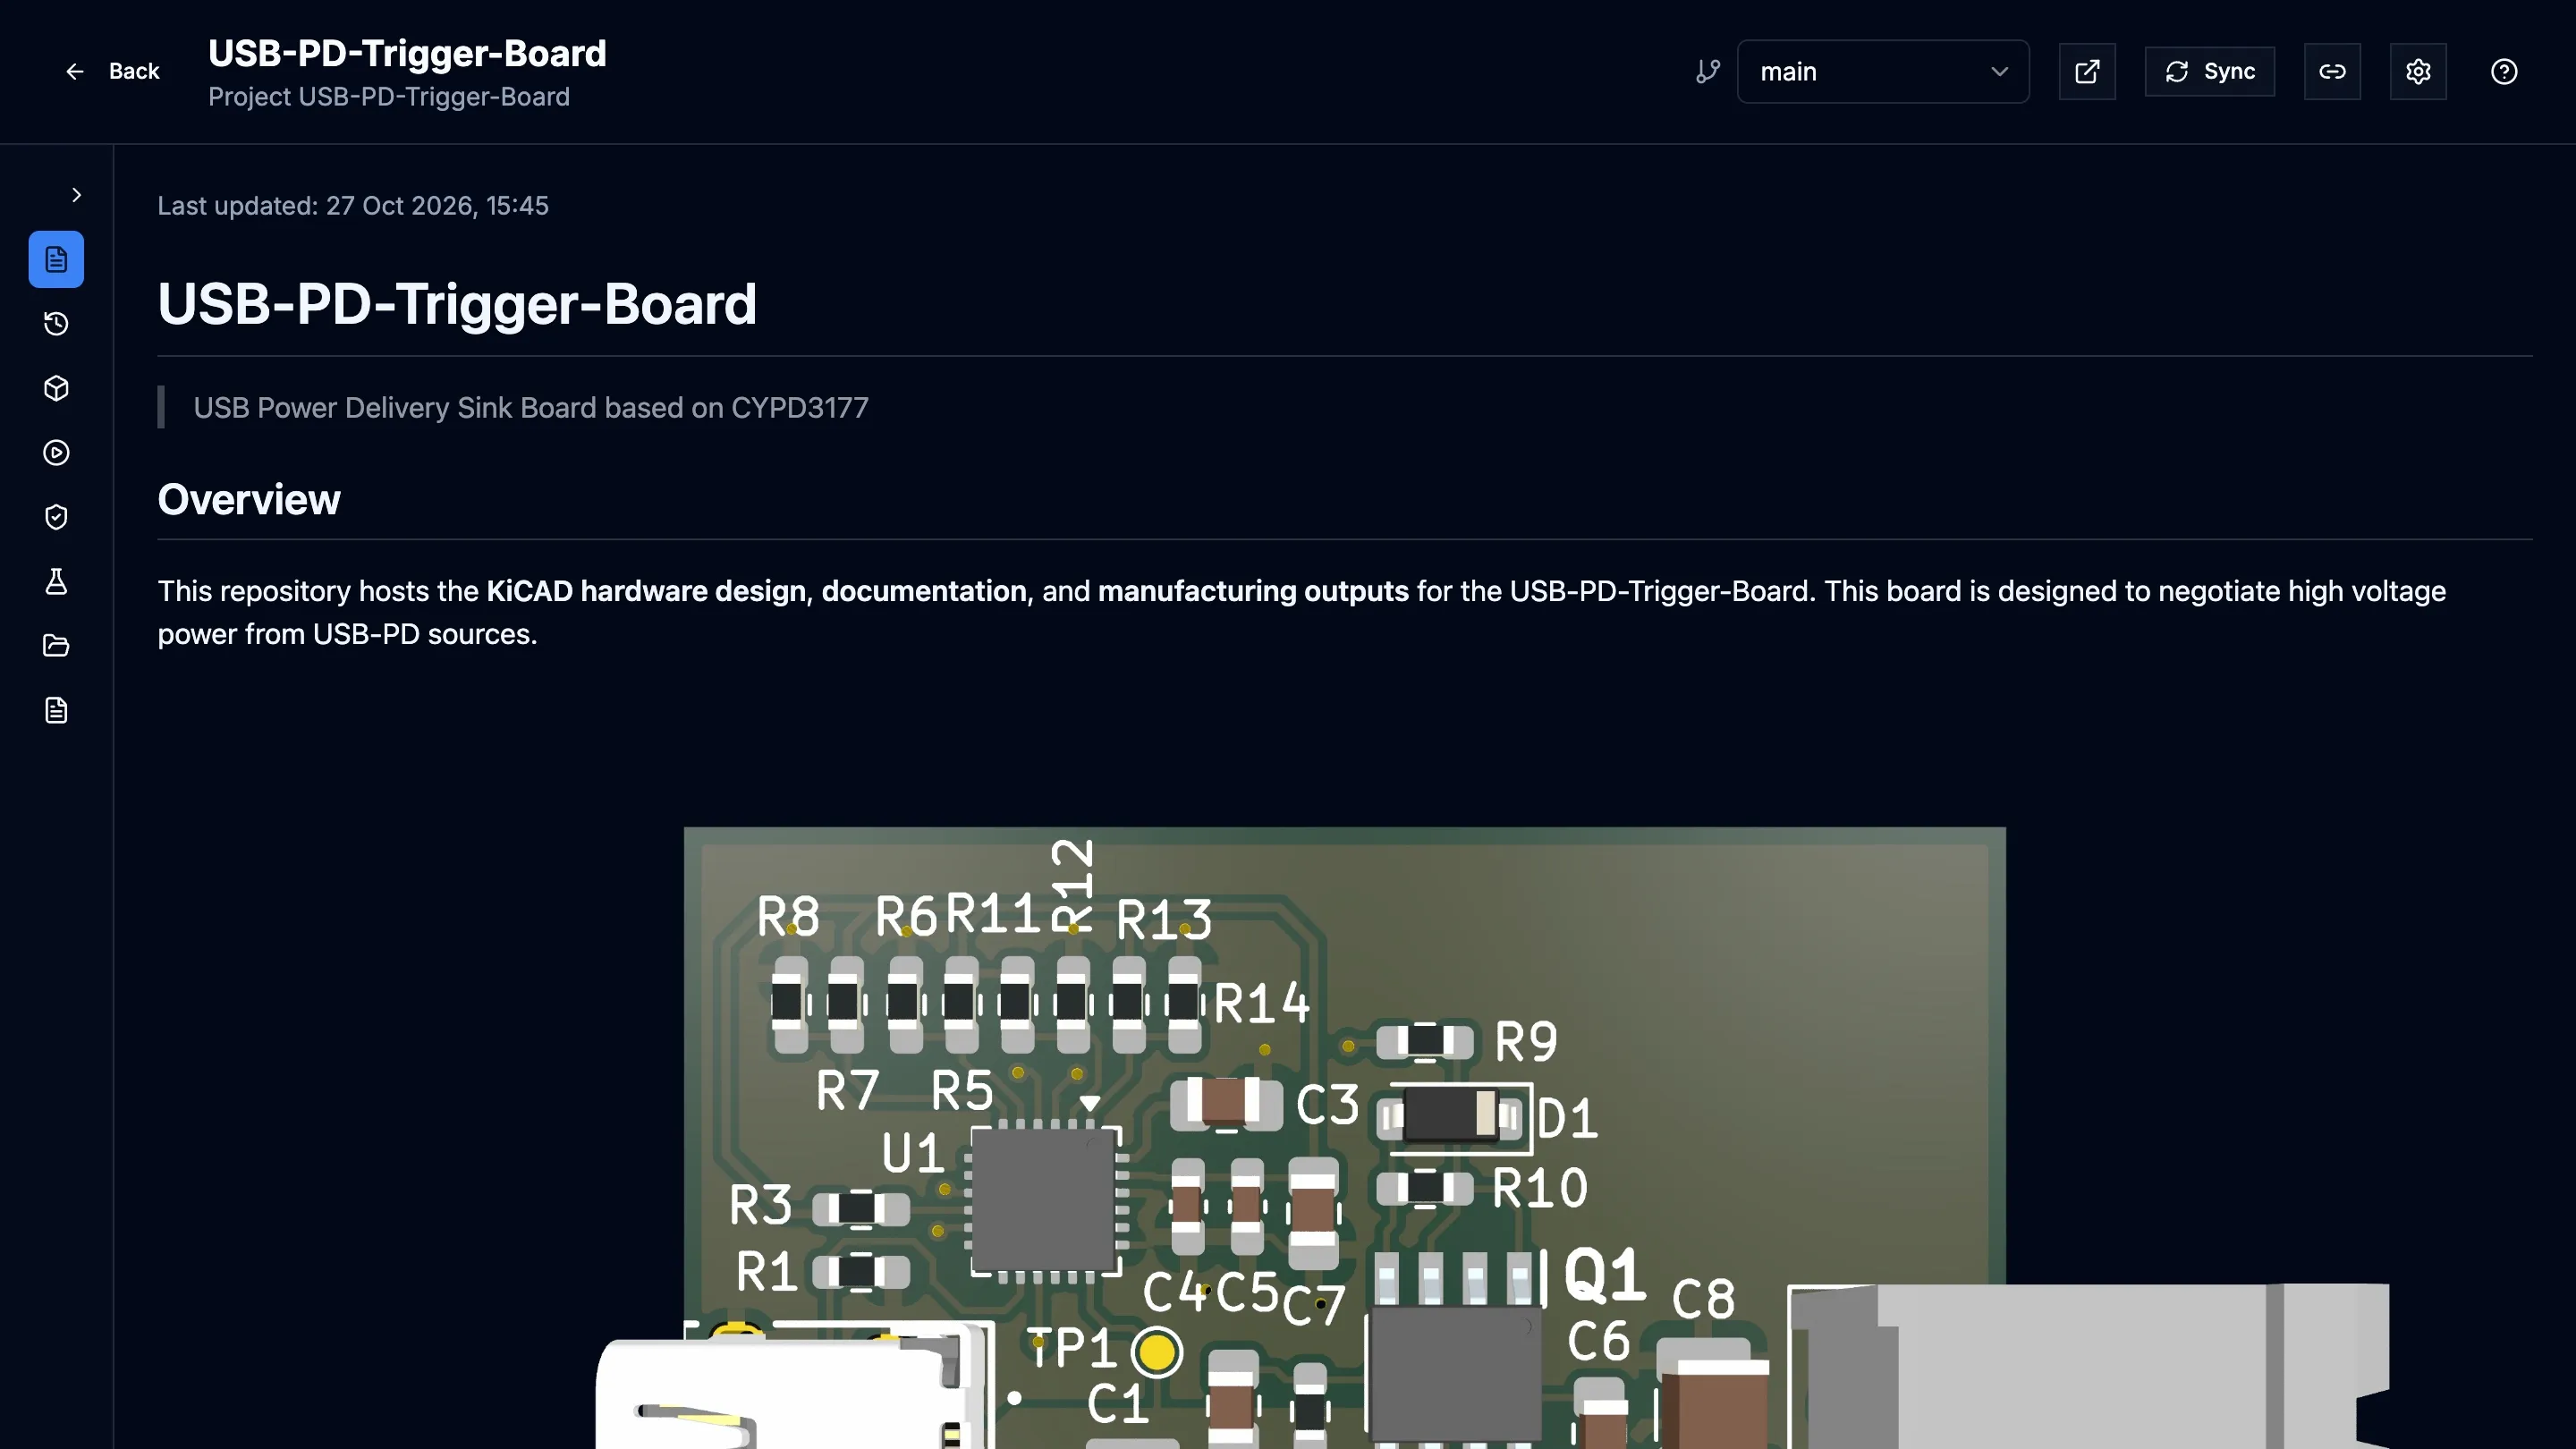
| Overview | The project’s README |
| History | Releases (tags) and commits, with the files each commit changed, and the entry point to Design Comparison |
| Visualizers | Schematic, PCB, 3D, BOM, Stackup and Assembly Assistant; see View a design |
| Workflows | The Design Outputs, Manufacturing Outputs and 3D Renders jobs, run from the project’s KiCad jobset, with their live log |
| Release Studio | Builds and sign-off of a release; see Release Studio |
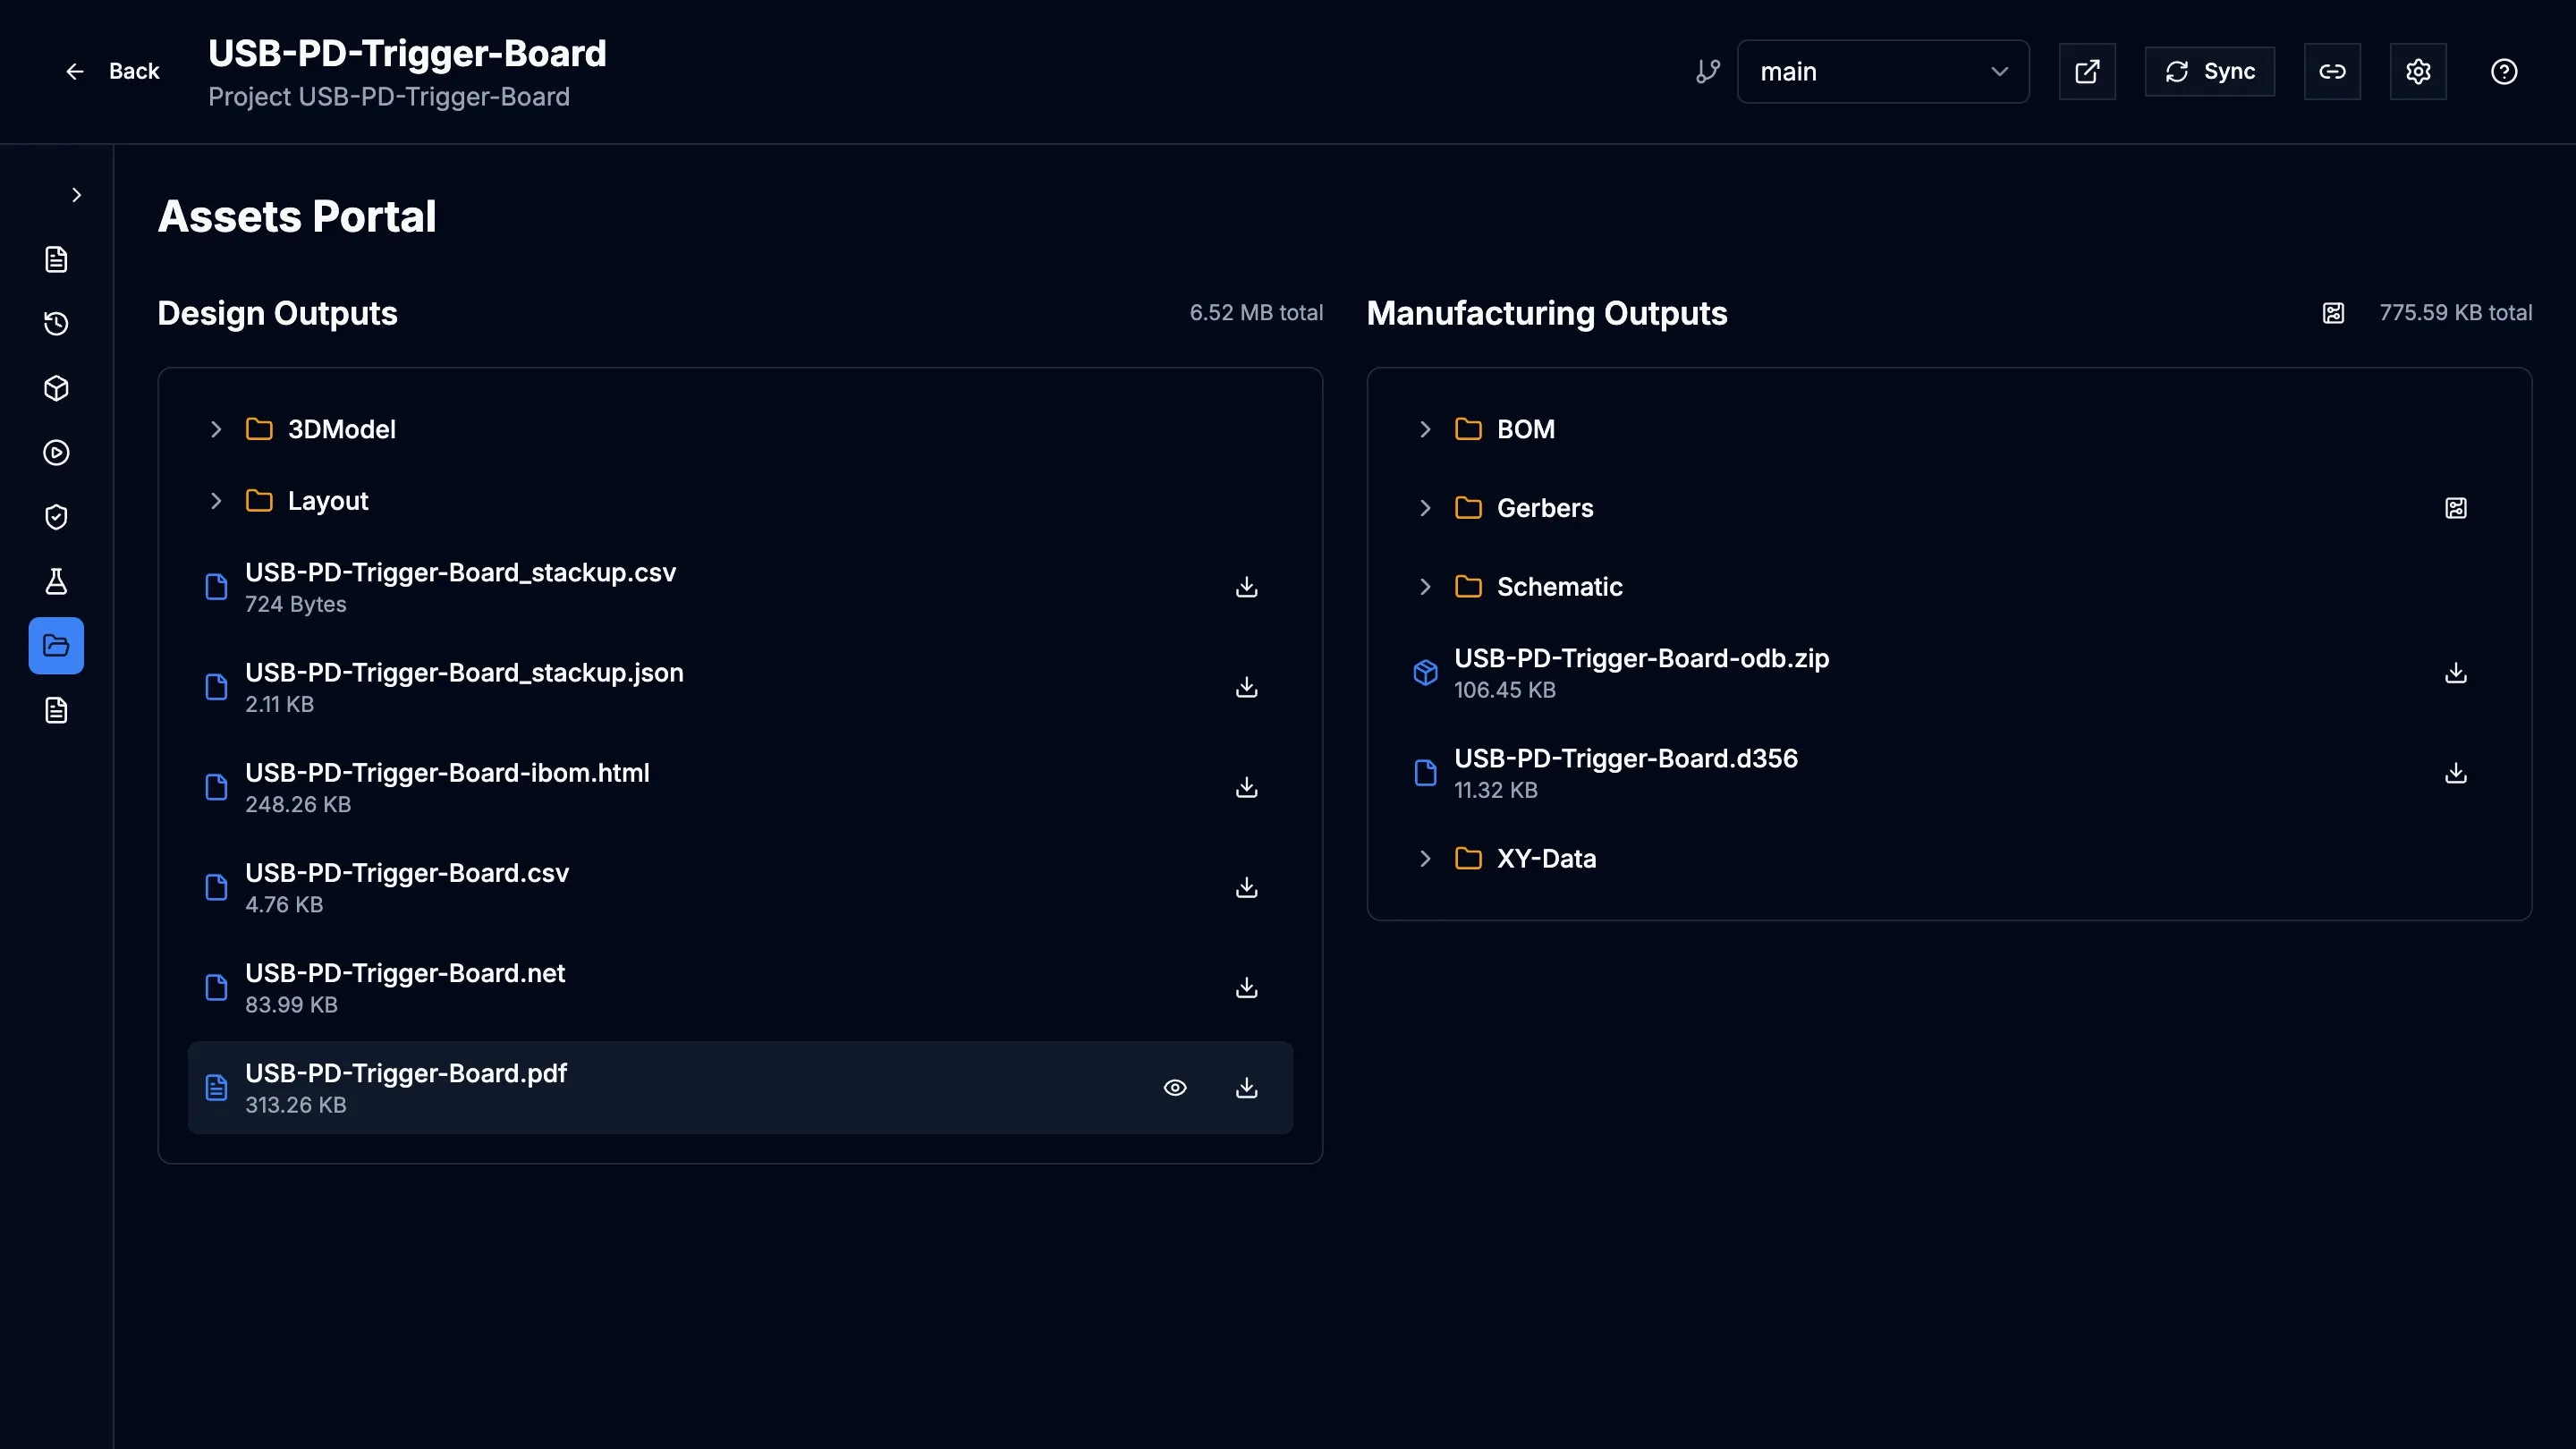
| Assets Portal | Files the workflow jobs produced |
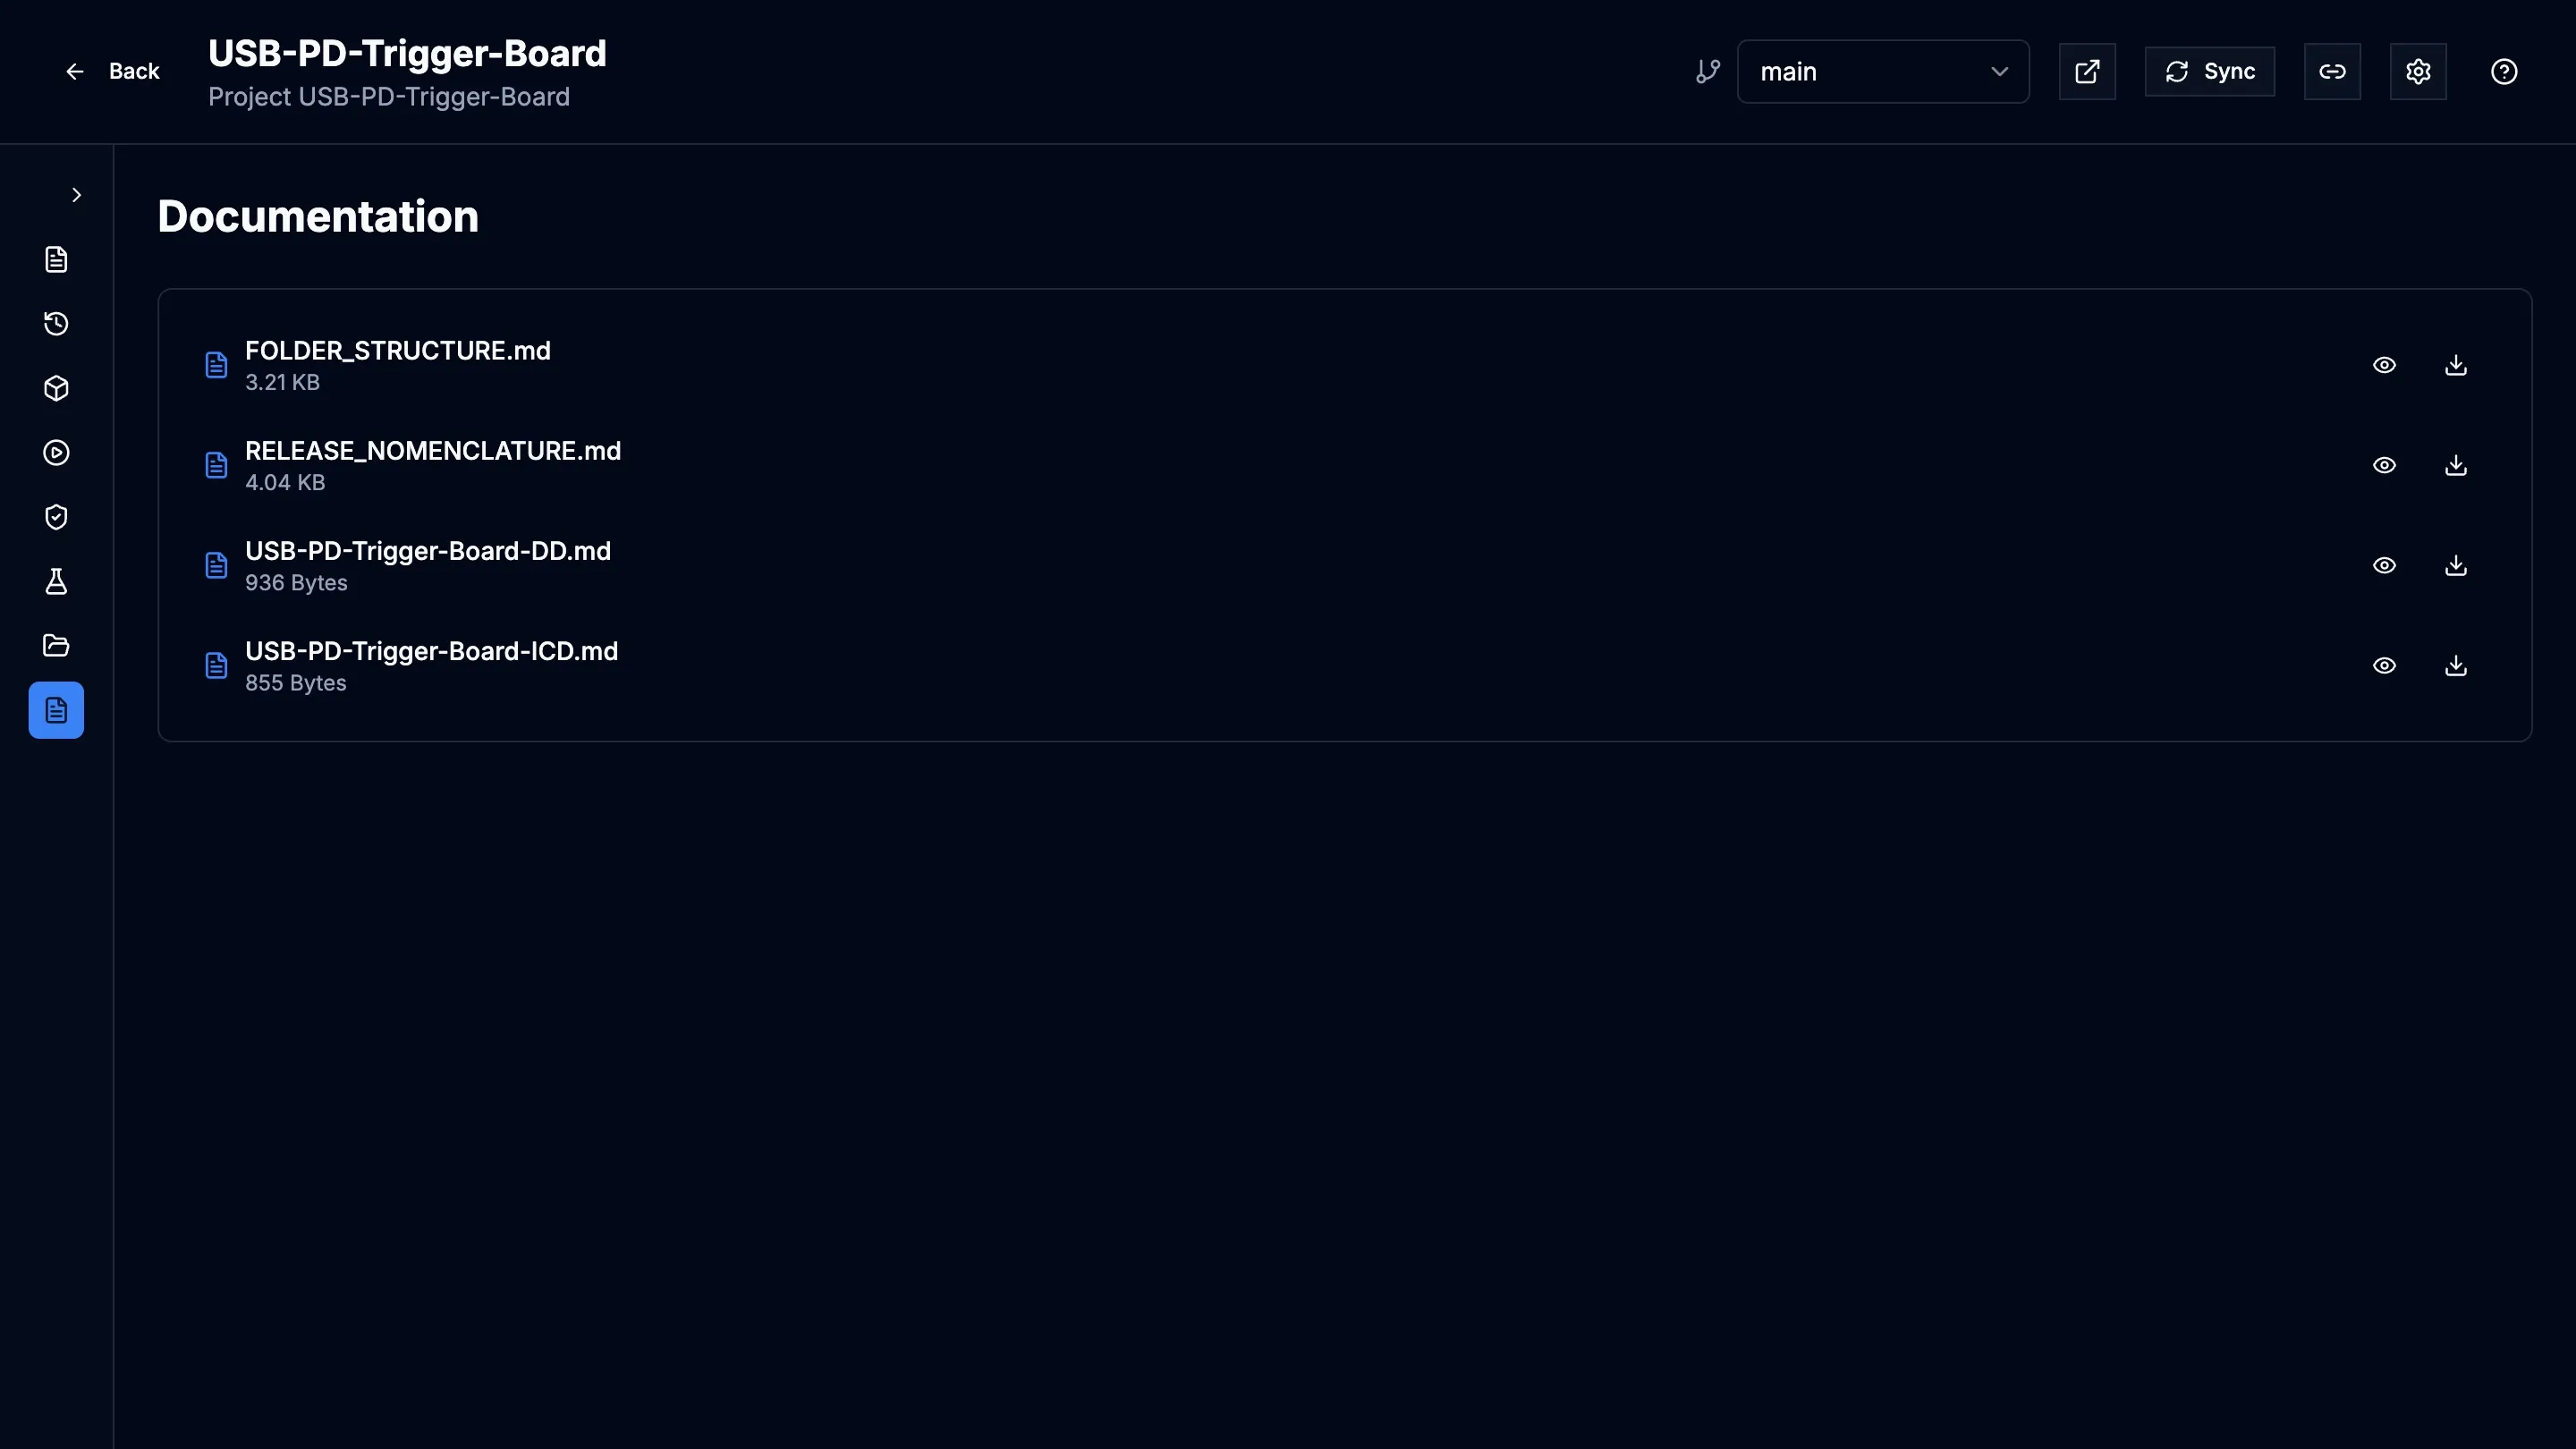
| Documentation | Markdown and other documents from the project’s documentation folder |
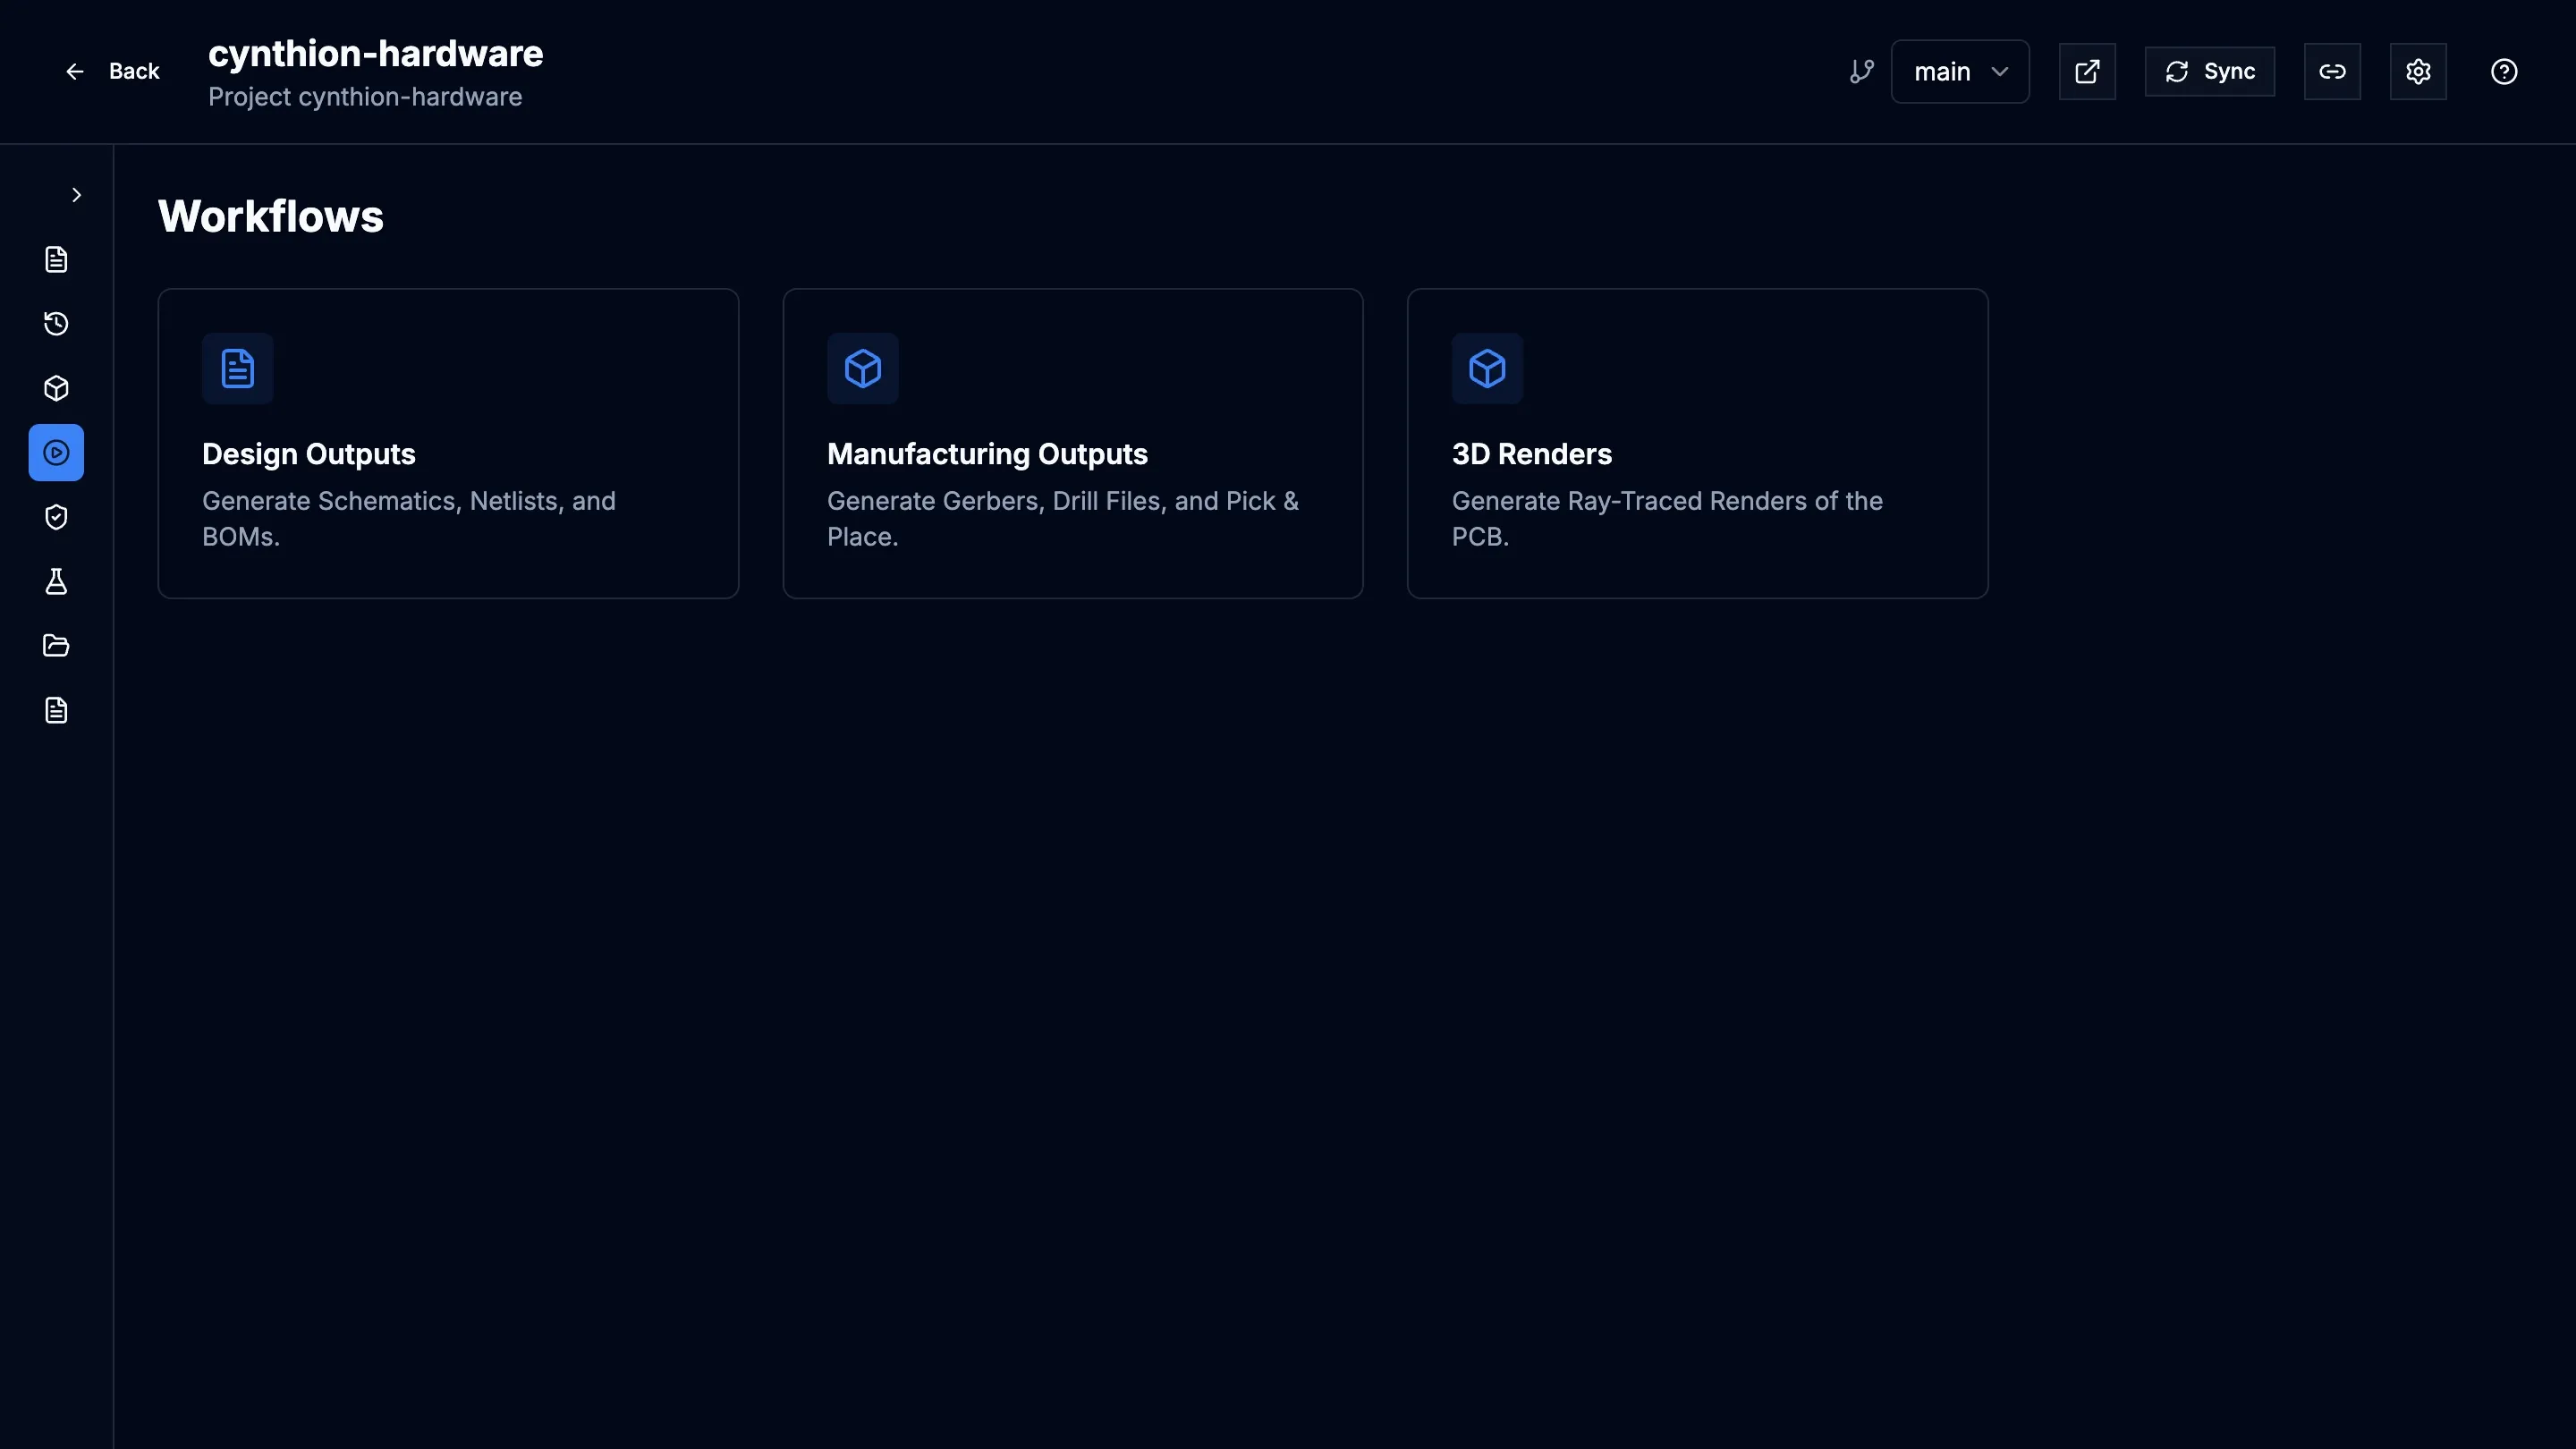
In History, expand a commit to see its changed files. Selecting a file does one of three things:
- A schematic, board, project, symbol or footprint file opens in the Visualizers at that commit.
- A PDF, CSV, text or Markdown file opens in a new browser tab, served from that commit.
- Any other file, such as a Gerber, is listed only.
Organize projects in folders
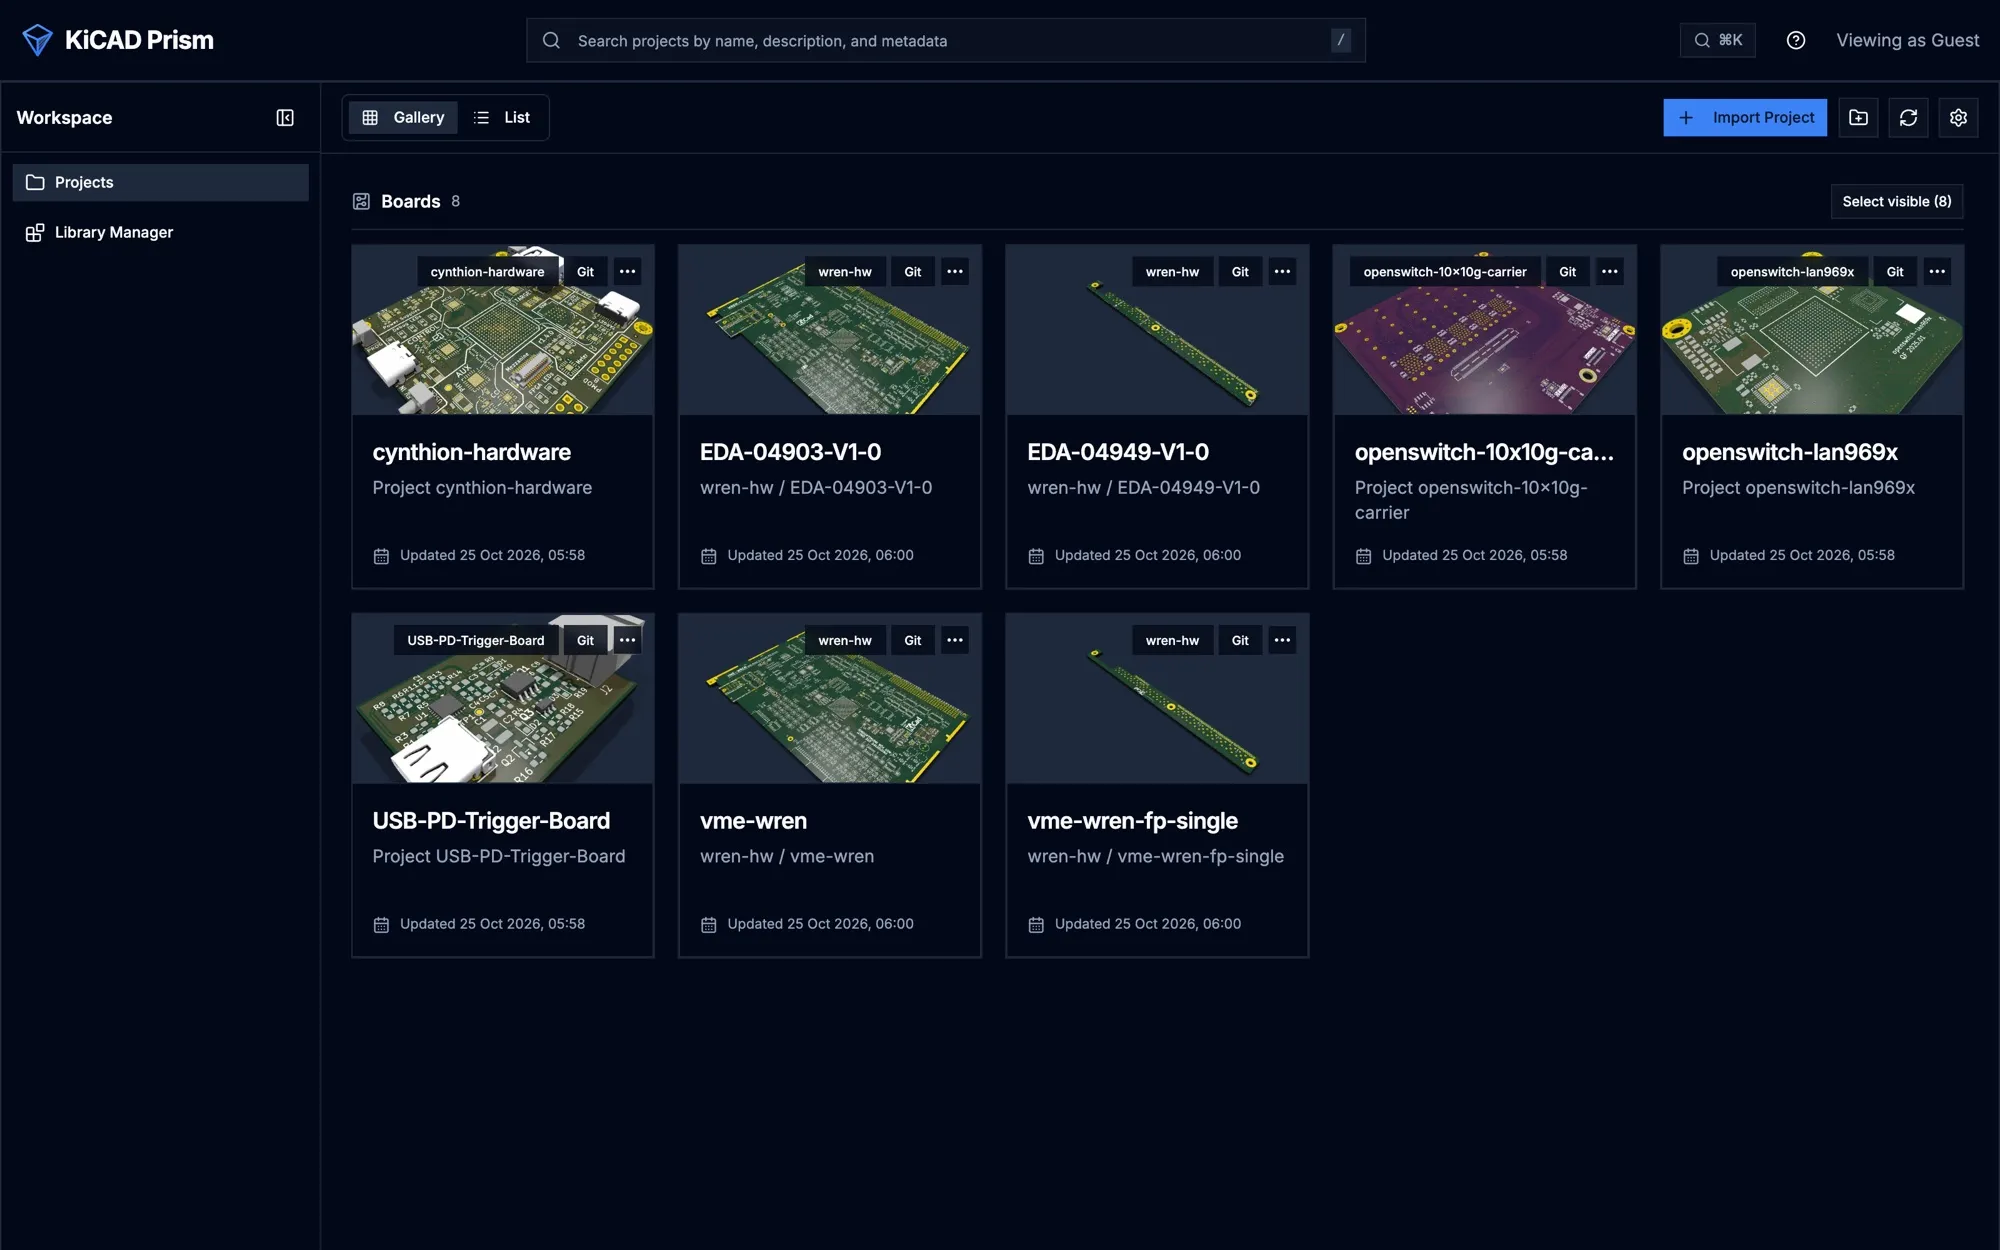
Section titled “Organize projects in folders”The workspace shows folders and projects in Gallery or List view, and the search box at the top searches projects by name, description and metadata.
- Create a folder. Select the folder icon (Create new folder) next to Import Project. The folder is created at the level you are viewing.
- Rename or delete a folder. Open the folder’s ⋯ menu and choose Rename or Delete Folder. Deleting a folder also deletes the folders inside it and moves their projects to the workspace root.
- Move a project. Open the project card’s ⋯ menu, choose Move to Folder, and pick the destination, or Workspace Root.
- Inspect a project. Click a project card once to open its properties panel: repository link, latest commit and tag, board size and thickness, file formats and dates. Double-click to open the project.
- Change the thumbnail. In the properties panel, use Upload image, Use rendered board or Re-render. Regenerate Thumbnail in the card’s ⋯ menu renders the board again.
Delete and other destructive actions ask you to press and hold the button; a single click does nothing.
Delete a project
Section titled “Delete a project”- Open the project card’s ⋯ menu.
- Choose Delete Project.
- Press and hold Hold to delete.
Deleting removes the project from Prism and deletes Prism’s copy of its files. The Git remote is not touched. A designer cannot delete a project that has signed releases; an administrator can.
Change project settings
Section titled “Change project settings”Project Settings overrides what Prism detected: the display name, the description and the file paths.
- Open the project.
- Select the gear icon (Project settings) in the project header.
- Change the fields you need:
- Project Name and Project Description, shown in the workspace and used by search.
- Workflows (JSON Array), the definitions behind the Workflows section.
- Schematic, PCB, Subsheets Folder, Design Outputs, Manufacturing Outputs, Documentation, Thumbnail, README and Jobset File. Each field shows the path Prism resolved under Resolved:.
- Select Save Configuration.
Auto-Detect runs detection again and fills in what it finds, without saving. The badge under the title says whether the project uses auto-detected paths or explicit settings.
Prism stores these settings in its own database and never writes them into
the repository. A .prism.json file committed in the repository also sets
them; when both exist, the values saved in Project Settings win.
The Design data block at the bottom of Project Settings shows the state of the design data Prism keeps for each revision. See Design data.
Open a project in desktop KiCad
Section titled “Open a project in desktop KiCad”The external-link icon in the project header (Open in KiCad) opens the project in desktop KiCad on your computer. It needs the Prism agent installed on that computer; without it, the button does nothing.