
Connect GitHub
Prism talks to GitHub for three separate jobs, each with its own credential:
| Job | Credential | Where you set it |
|---|---|---|
| Import and sync private repositories | Prism’s SSH key, or GITHUB_TOKEN |
Settings → Git & SSH, or the environment file |
| Publish Release Studio releases | GITHUB_TOKEN with contents:write |
The environment file |
| Publish comments as issues | A GitHub App | Settings → Code hosts |
Prism never uses GITHUB_TOKEN for issues, and never posts to GitHub as a
person.
Import private repositories
Section titled “Import private repositories”Either add Prism’s SSH key to GitHub, as in Private Git repositories, or set a token that can read the repositories:
GITHUB_TOKEN=<token>The token is used only for https://github.com/ remotes, and is handed to Git
one command at a time rather than stored on disk.
Publish releases
Section titled “Publish releases”Release Studio publishes a release as a GitHub Release. The workspace SSH key
can clone but cannot create a Release, so set GITHUB_TOKEN to a token with
contents:write on the repositories you release from. Without it, Release
Studio refuses to publish and its cover lists only the current release. See
Release Studio.
Publish comments as GitHub issues
Section titled “Publish comments as GitHub issues”This sets up a GitHub App so reviewers can publish comments as issues, with
replies and status kept in step both ways. The App posts as its own bot, for
example prism-acme[bot]. People can link their own GitHub accounts so issues
credit them by @handle.
Before you start
Section titled “Before you start”- Sign-in is on and you are a Prism administrator.
PUBLIC_BASE_URLis thehttps://address of Prism and GitHub (or your GitHub Enterprise Server) can reach it. GitHub sends webhooks and sign-in redirects there.TRACKER_CREDENTIAL_ROOT_KEYis set for bothbackendandprism-worker. Prism refuses to store GitHub credentials without it. See Issue trackers.
Below, https://prism.example.com stands for your PUBLIC_BASE_URL.
1. Register the GitHub App
Section titled “1. Register the GitHub App”-
Open the registration page for the account that owns the repositories:
https://github.com/organizations/<org>/settings/apps/newfor an organization,https://github.com/settings/apps/newfor a personal account, or the same path on your GitHub Enterprise Server. -
Fill in the form:
Field Value GitHub App name A name for the bot, for example Prism Acme.Homepage URL https://prism.example.comCallback URL https://prism.example.com/api/trackers/oauth/callbackExpire user authorization tokens On Request user authorization (OAuth) during installation Off Enable Device Flow Off Webhook → Active Off for now. You turn it on in step 4. Repository permissions → Issues Read and write Repository permissions → Metadata Read-only All other permissions No access Where can this GitHub App be installed? Only on this account -
Click Create GitHub App.
-
On the App’s General page, note the App ID.
-
Under Private keys, generate a private key. GitHub downloads a
.pemfile. Keep it for step 3.
2. Install the App
Section titled “2. Install the App”-
On the App’s page, open Install App and click Install next to the organization or account.
-
Choose Only select repositories and pick the repositories whose projects will publish issues, plus any separate issues repository.
-
Click Install.
-
Note the Installation ID at the end of the page’s address:
https://github.com/organizations/<org>/settings/installations/12345678
A project whose repository the App cannot see stays paused until you add the repository under Repository access on this page.
3. Add the connection in Prism
Section titled “3. Add the connection in Prism”- Open Settings → Code hosts, click Add code host and choose GitHub.
- Under Connection, name it and choose github.com or
GitHub Enterprise Server. For Enterprise Server, also enter the API base
URL,
https://<host>/api/v3. - Under GitHub App, enter the App ID, the Installation ID and the
whole contents of the
.pemfile. - Click Create connection, then Test connection.
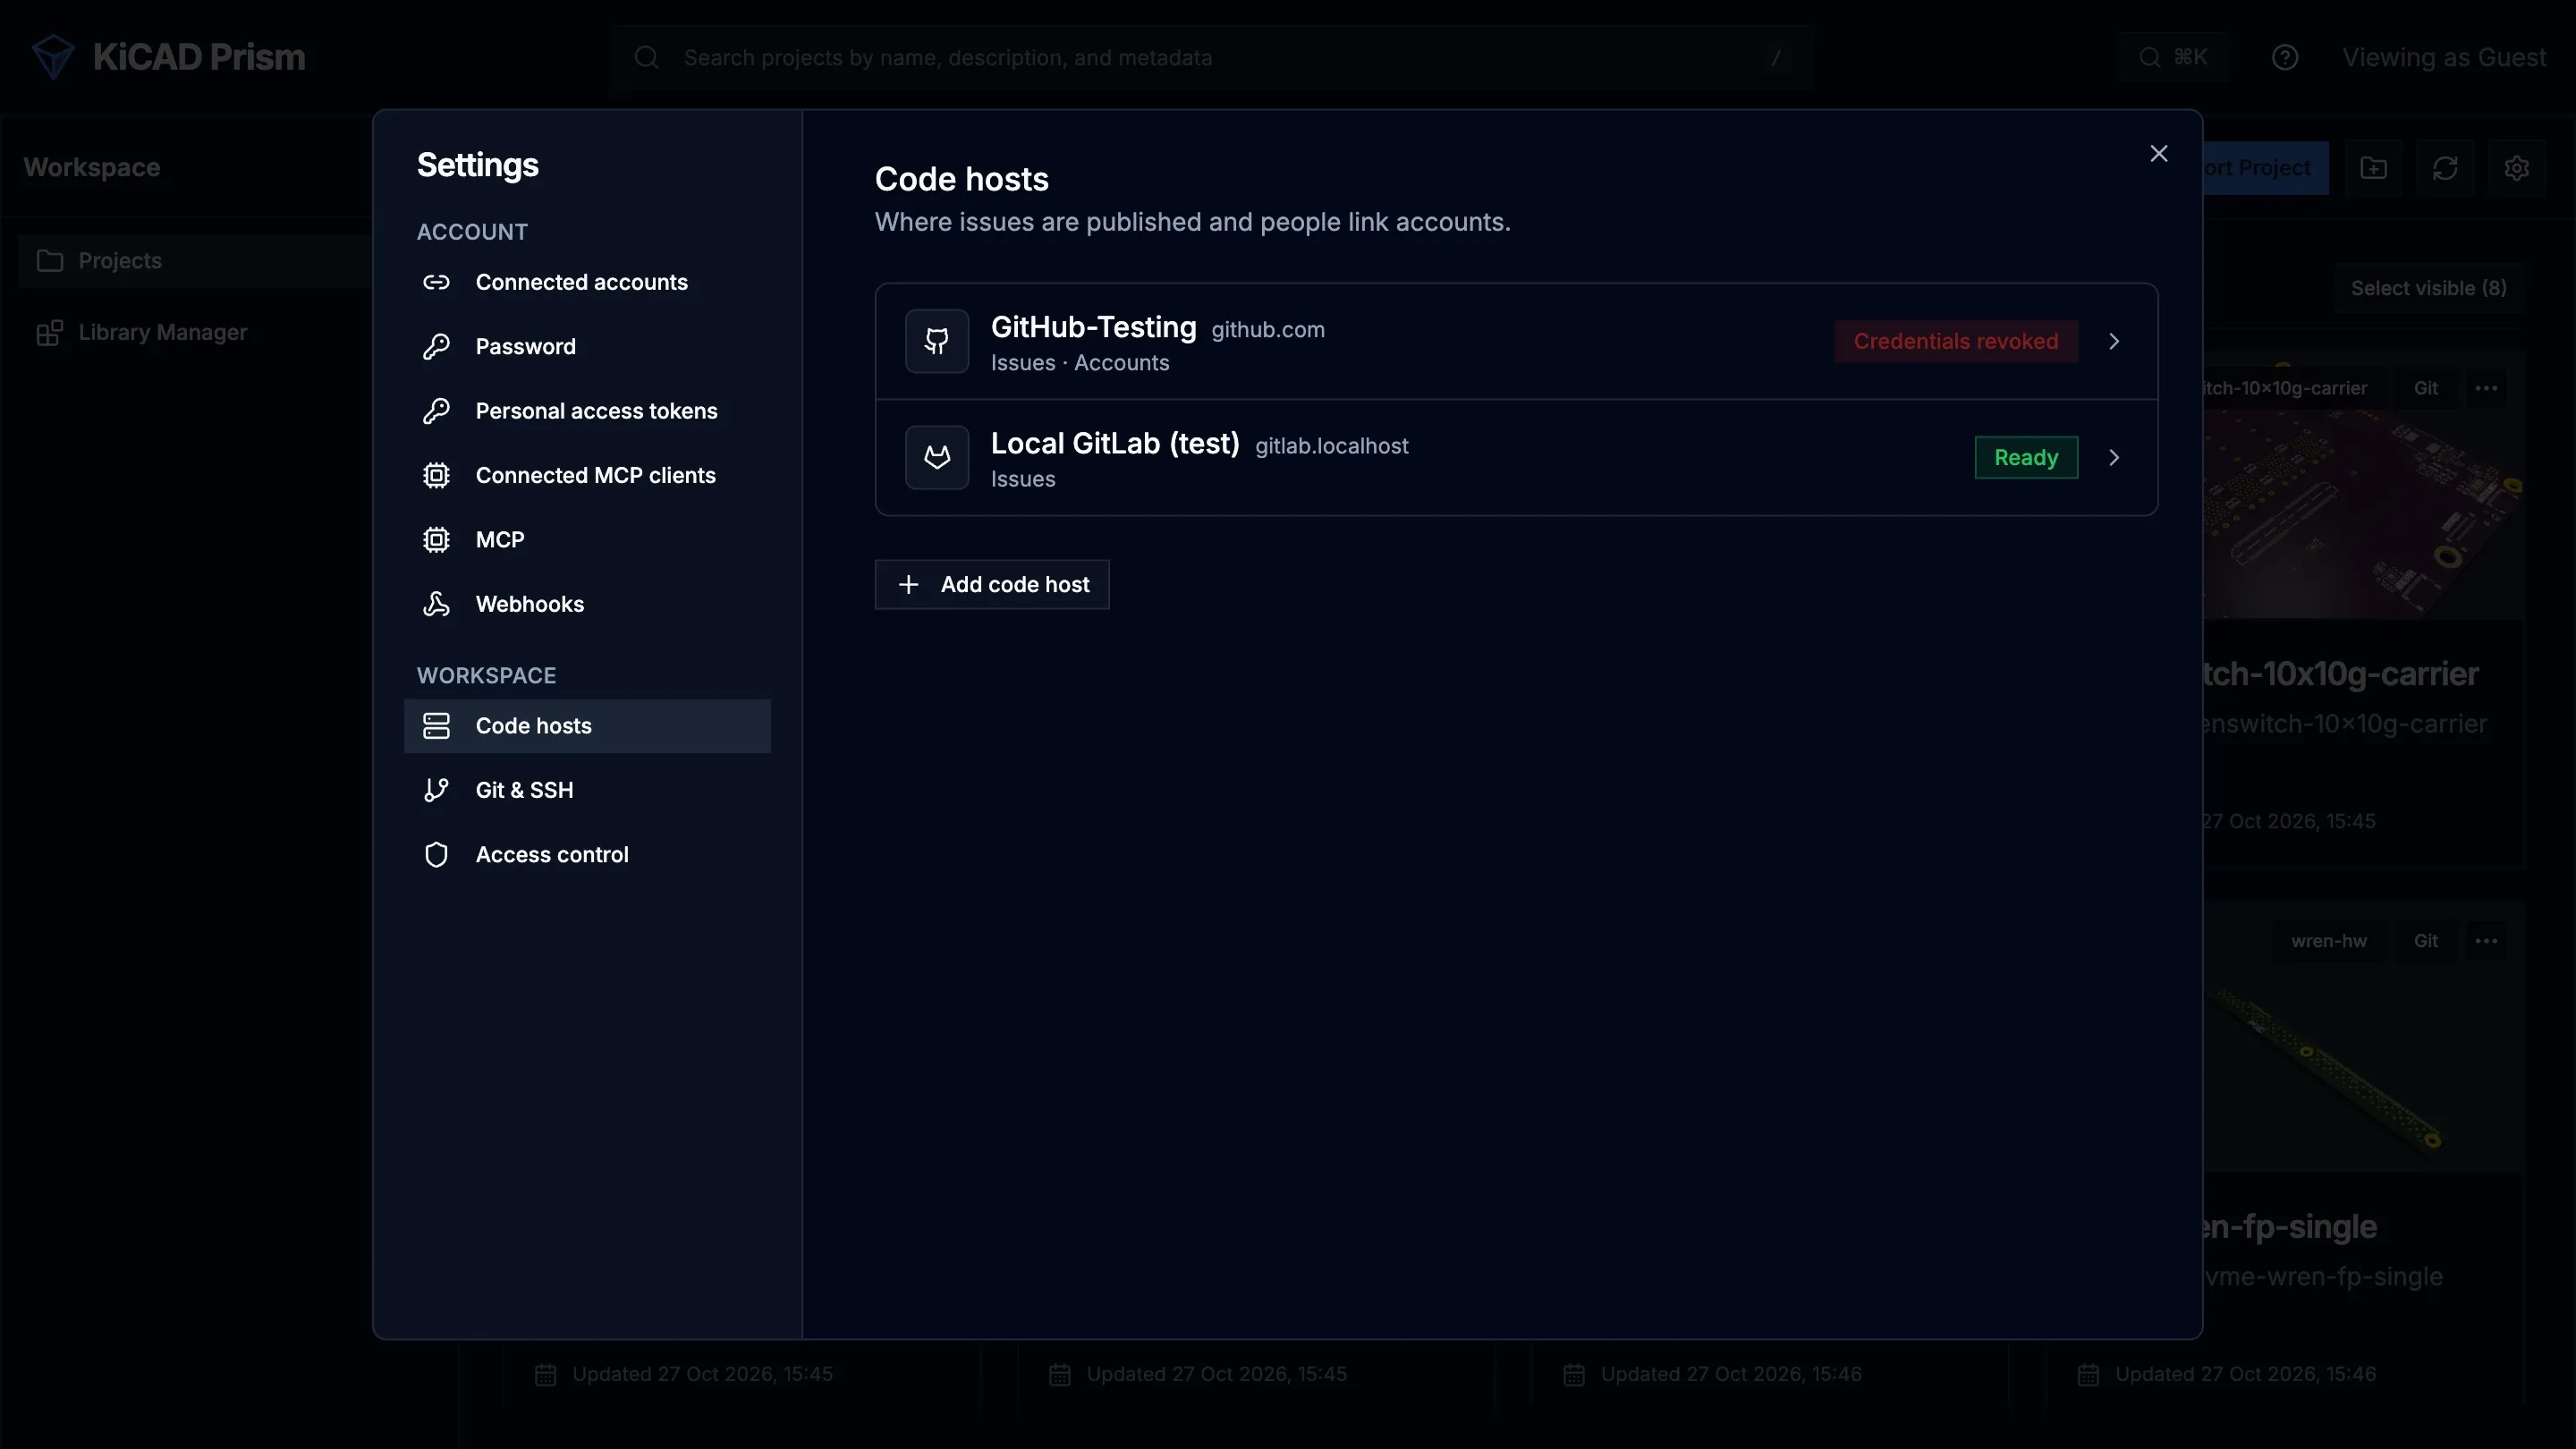
A successful test shows that the connection publishes as <app>[bot], and the
code host shows Ready. Prism writes to GitHub only after a successful test.
| The test fails with | Fix |
|---|---|
| An authentication error | The App ID and key belong to different Apps, or the key was deleted. Generate a new key and paste it. |
| Not found | The Installation ID is wrong, or the App was uninstalled. |
| Permissions | The App lacks Issues: Read and write. Change it under Permissions & events and accept the new permissions on the installation page. |
| A network error | The server cannot reach api.github.com or your Enterprise Server over HTTPS. |
4. Turn on the webhook
Section titled “4. Turn on the webhook”Without a webhook, Prism polls GitHub every few minutes. With it, changes on GitHub reach Prism within seconds.
-
Generate a secret:
Terminal window openssl rand -hex 32 -
In Prism, under Webhook, paste the secret into Webhook secret, copy the Webhook URL and click Save changes.
-
On GitHub, open the App’s General page. Under Webhook, tick Active, paste the URL and the same secret, and save.
-
Open Permissions & events. Under Subscribe to events, tick Issues and Issue comment, and save.
-
Under Advanced → Recent Deliveries, check that the
pingdelivery shows200.
Save the secret in Prism first. GitHub sends ping at once, and Prism answers
401 until it knows the secret.
| Delivery result | Fix |
|---|---|
401 |
The secrets differ. Paste the same value in both places. |
| Connection failed or timed out | GitHub cannot reach PUBLIC_BASE_URL. |
404 |
The URL belongs to another connection. |
5. Let people link their accounts
Section titled “5. Let people link their accounts”Linking only reads the person’s GitHub username.
- On the App’s General page, note the Client ID and generate a client secret.
- In Prism, expand Account linking. Check that Callback URL matches the App’s callback URL, paste the OAuth Client ID and OAuth Client Secret, and click Save changes.
- Each person opens Settings → Connected accounts and clicks Connect next to GitHub.
If GitHub says the redirect URI is not associated with the application, the two callback URLs differ. They must match exactly.
6. Turn on publishing for a project
Section titled “6. Turn on publishing for a project”- Open the project and click Issue publishing in its header.
- Choose GitHub Issues and, if you have several, the connection.
- Choose the repository: the project’s own, or another the App is installed on.
- Set the rules for what publishes automatically and who may publish the rest.
- Click Save.
A public repository stays paused until an administrator clicks Allow public issues. Changing the repository asks again.
Check the round trip
Section titled “Check the round trip”- Publish a comment in Prism. An issue appears on GitHub from the App’s bot.
- Reply on GitHub. The reply appears in Prism.
- Reply in Prism. The reply appears on GitHub.
- Close the issue on GitHub. The thread shows as closed in Prism.
If replies take minutes to arrive, the webhook is not delivering. Recheck step 4.
Running the connection day to day is covered in Issue trackers.